Team Management Guide
Managing your team effectively is essential for smooth property operations. This guide walks you through everything you need to know about adding team members, assigning roles, and keeping your team organized in RoostSync.
Accessing the Team Members Tab
To manage your team, navigate to the Team Members section:
- Click Settings in the main navigation
- Select the Team Members tab
- You will see a list of all current team members
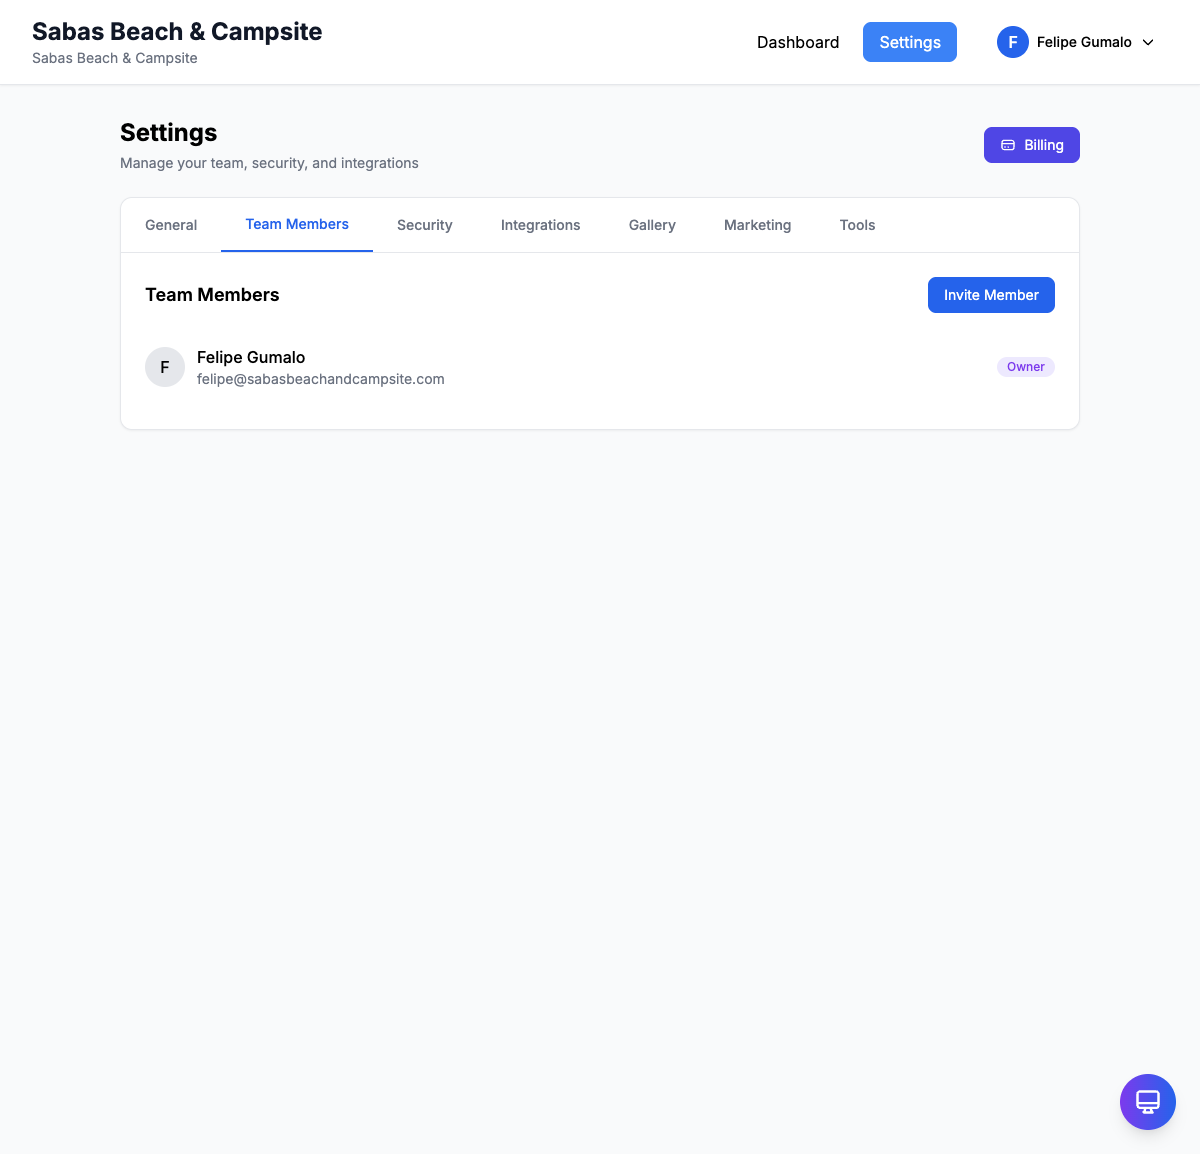
The Team Members tab displays each member's email address, assigned role, and current status (active, pending invitation, etc.). From here, you can invite new members, change roles, and remove team members as needed.
Understanding Team Roles
RoostSync offers three distinct roles, each with different levels of access. Choose the appropriate role based on what each team member needs to do.
Owner
The Owner has complete control over the team and all its settings.
Capabilities:
- Full access to all features (bookings, calendar, POS, inventory, finance)
- Manage team members (invite, change roles, remove)
- Access and manage billing and subscription settings
- Delete the team
- Configure all integrations (Gmail, iCal, etc.)
Best for: Business owners and primary stakeholders who need unrestricted access.
Admin
Admins have broad access to manage day-to-day operations but cannot modify billing or team structure.
Capabilities:
- View, add, edit, and delete bookings
- Access calendar and all property management features
- Use POS, kitchen display, and inventory systems
- View financial reports
- Configure settings and integrations
Cannot do:
- Manage billing or subscription
- Invite or remove team members
- Change member roles
- Delete the team
Best for: Property managers, operations managers, and trusted staff who handle daily operations.
Member
Members have focused access for day-to-day booking tasks.
Capabilities:
- View all bookings
- Add new bookings
- Edit existing bookings
- Access the calendar view
- Use POS system (if enabled)
Cannot do:
- Delete bookings
- Manage properties or settings
- Access financial reports
- Invite or manage other team members
Best for: Front desk staff, reservation agents, and team members who work directly with bookings.
Inviting Team Members
Grow your team by sending invitations to colleagues and staff.
How to Send an Invitation
- Go to Settings > Team Members
- Click the Invite Member button
- Enter the email address of the person you want to invite
- Select the appropriate role from the dropdown:
- Owner
- Admin
- Member
- Click Send Invitation
What Happens Next
- The invited person receives an email with a link to join your team
- Their status shows as Pending in your team list
- Once they accept and create an account (or sign in), their status changes to Active
- They immediately gain access based on their assigned role
Tips for Inviting Team Members
- Double-check the email address before sending to avoid delays
- Choose the most restrictive role that still allows the person to do their job
- You can always upgrade someone's role later if needed
- Consider your subscription plan's member limits before inviting
Changing Member Roles
As responsibilities shift, you may need to adjust team member permissions.
How to Change a Role
- Go to Settings > Team Members
- Find the team member in the list
- Click on their name or the edit icon
- Select the new role from the dropdown menu
- Click Save Changes
The role change takes effect immediately. The team member will have their new permissions the next time they access the system.
When to Change Roles
Promote to Admin when:
- A staff member takes on management responsibilities
- Someone needs access to financial reports
- You want to delegate settings configuration
Change to Member when:
- Reducing access for security reasons
- Someone's responsibilities have narrowed
- Transitioning a team member to a different role
Promote to Owner when:
- Adding a business partner
- Transferring primary responsibility
- Someone needs billing access
Important Notes
- Only Owners can change member roles
- You cannot change your own role (to prevent accidental lockouts)
- There must always be at least one Owner on the team
Removing Team Members
When someone leaves your team or no longer needs access, remove them promptly to maintain security.
How to Remove a Team Member
- Go to Settings > Team Members
- Find the team member you want to remove
- Click on their name or the menu icon
- Click Remove from Team
- Confirm the removal when prompted
What Happens When You Remove Someone
- They lose access to your team immediately
- They can no longer view bookings, use POS, or access any team features
- Their previous actions (bookings they created, etc.) remain in the system
- They are not deleted from the platform - they can still access other teams they belong to
Best Practices for Removing Members
- Remove departing employees on their last day
- Audit your team list periodically to remove inactive members
- Consider changing roles first if you want to limit (but not revoke) access
- Communicate with the person before removing them to avoid confusion
Team Collaboration Tips
Setting Up Your Team for Success
- Start with the right roles - Assign the minimum access needed for each person's job
- Document responsibilities - Make sure everyone knows what they should and should not do
- Regular audits - Review your team list monthly to ensure it is current
Managing Multiple Properties
When your team manages several properties:
- Consider having dedicated Members for each property
- Use Admins to oversee multiple locations
- Keep billing and team management with a single Owner or small group of Owners
Security Best Practices
- Remove access immediately when someone leaves
- Review pending invitations and cancel any that have not been accepted
- Use Admin role sparingly - most staff only need Member access
- Periodically review who has Owner access
Troubleshooting
Invitation Not Received
- Ask the invitee to check their spam/junk folder
- Verify the email address is correct
- Resend the invitation from the Team Members tab
- Have the invitee add noreply@manage.roostsync.com to their contacts
Cannot Change Someone's Role
- Only Owners can change roles - confirm you have Owner access
- You cannot change your own role
- Refresh the page and try again
Removed User Still Has Access
- Ask them to sign out and sign back in
- Clear their browser cache if the issue persists
- Contact support if access continues after these steps
Hit Member Limit
- Review your subscription plan's member limit
- Remove inactive or unnecessary members
- Upgrade your plan if you need more team members
Quick Reference: Role Comparison
| Permission | Owner | Admin | Member |
|---|---|---|---|
| View bookings | Yes | Yes | Yes |
| Add bookings | Yes | Yes | Yes |
| Edit bookings | Yes | Yes | Yes |
| Delete bookings | Yes | Yes | No |
| Manage properties | Yes | Yes | No |
| View financial reports | Yes | Yes | No |
| Configure settings | Yes | Yes | No |
| Invite team members | Yes | No | No |
| Change member roles | Yes | No | No |
| Manage billing | Yes | No | No |
| Delete team | Yes | No | No |
Need Help?
If you have questions about team management or run into issues not covered here, contact our support team or visit the help center for additional resources.